So yes, I have been MIA for quite a while. I didn’t quite get my Halloween blogs completed that I intended…NEXT YEAR! (For those who don’t know me, I had the wild hair to go back to school! It really consumed my life initially, but I finally said [insert your favorite four letter word here] it, I’m sewing. Well that was fine and dandy until I got behind…really, really BEHIND. So yes, I have spent the last couple months playing serious catch-up, but there is finally a light at the end of the tunnel!!! PRAISE THE LORD!)
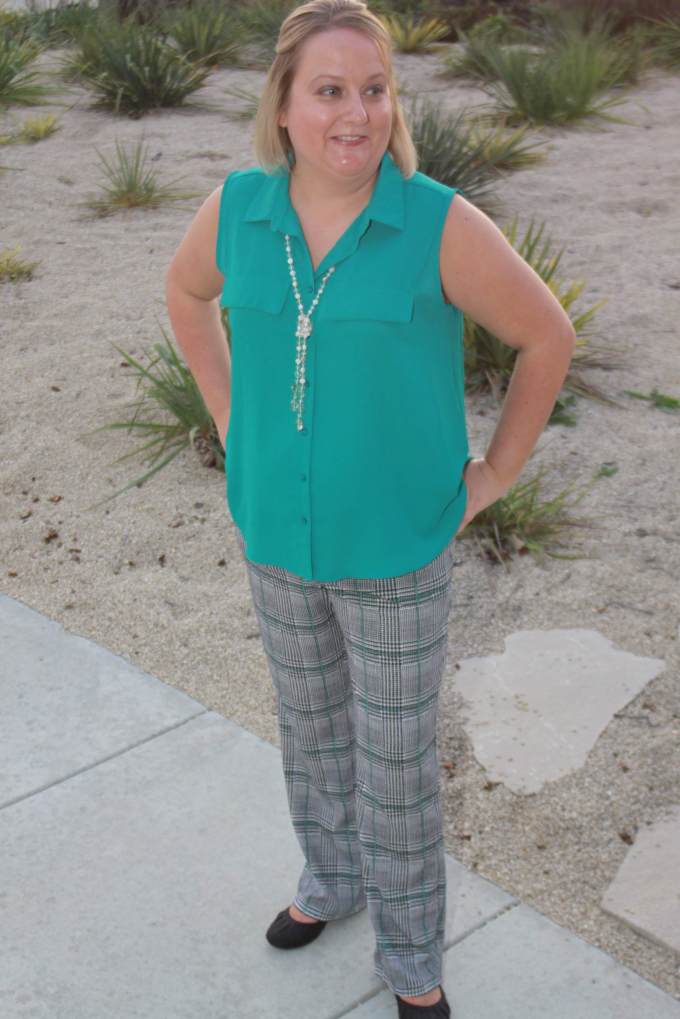
Before I got back into the school groove, I tested the updated version of the Patterns for Pirates SOS Pants. I was super excited to test these pants and they definitely did not disappoint. (These pants will make your butt look AMAZING…don’t believe me, check out the posted pictures.)

I have to dress up several times a year for presentations at work and the SOS Pants rescued me! The pants come in a skinny and straight leg option and they have added a matching youth pattern.
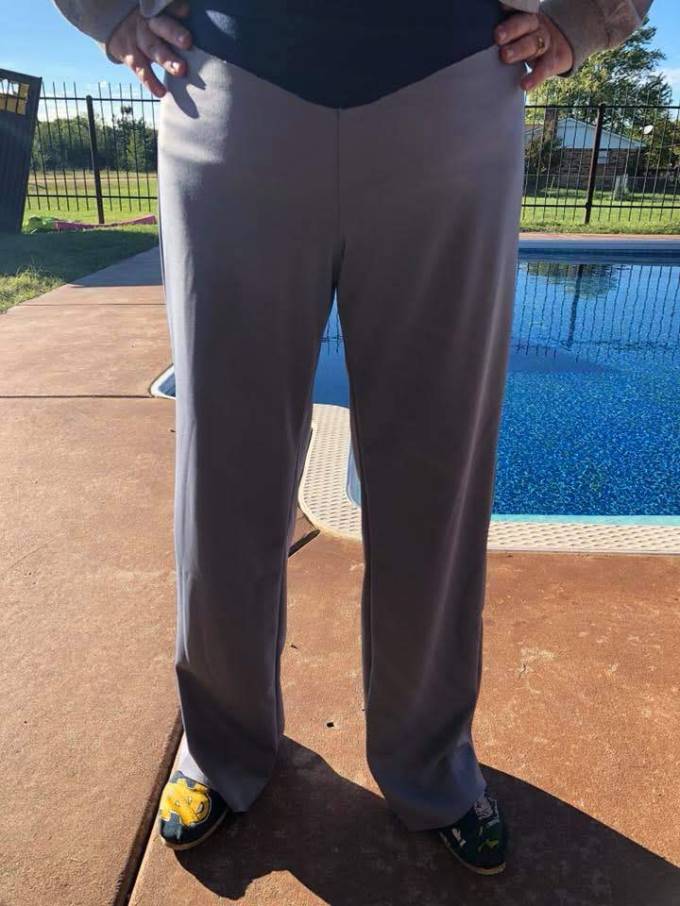
I tested the straight leg option in a size large. Everything, but my hip measurement, which was a medium, fell into a large so I cut a straight large. I whipped up a muslin in gray ponte. The crotch and hip fit were on point and no changes were needed. However, I felt the leg was a bit wide and took it in from the thigh down 1/4″ at a time. In the end, I took 3/4″ off the outside leg pieces and 1/2″ off the inside leg pieces. No matter the pattern maker this is a typical adjustment for me. I’m seriously one of those weeble wobble little people on toothpicks. I look great from the hips down, anything from the hips up…well thats another story!!!
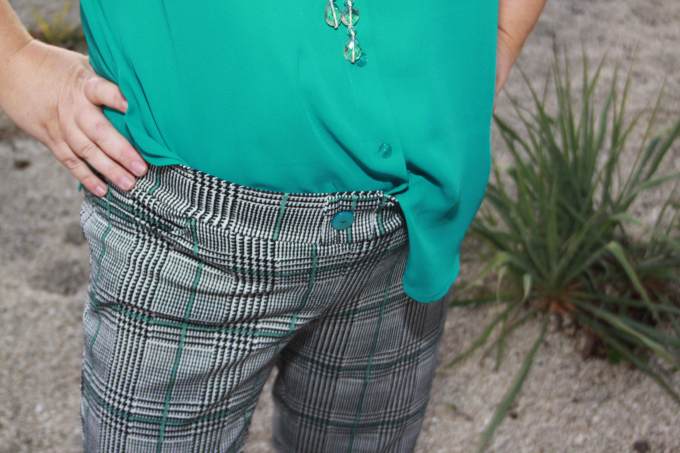
After making the adjustments on the gray muslin, I cut into the good stuff! The first pair was made out of a ponte tribal print and the second was a liverpool houndstooth print, both from my favorite local fabric store, Needle Nook Fabrics. I did front and back pockets on both pairs and fake fly on the front.
The SOS pants are the perfect addition to my presentation wardrobe. Both prints I chose are way out of my typical comfort zone and they make my black “presentation” pants look SO boring! I am definitely getting into the printed bottoms and will be making many more of these in the near future!
The SOS Pants are a relatively quick sew. I enjoyed adding creative top stitching to the back pockets. By the way, did I mention, my butt looks GREAT in these pants!?! I can’t wait to make the straight fit in shorts for this summer! So, if your needing a great work pant pattern (that makes your butt look PHENOMENAL), hurry over and grab it while it’s on sale!

TIPS
- Add French fuse to the bottom pant legs before sewing together. French fuse gives a polished look to all hems.
- If you’re having difficulty with your crotch area, use the foil method to perfect your crotch curve.
- Use steam-a-seam to hold your back pockets in place before top stitching.
- Overlap your waistband in the front and add a button to give your pants a zipper and button appearance.
- Don’t skip the elastic in the waistband…even if you think it will be fine, just DON’T!!